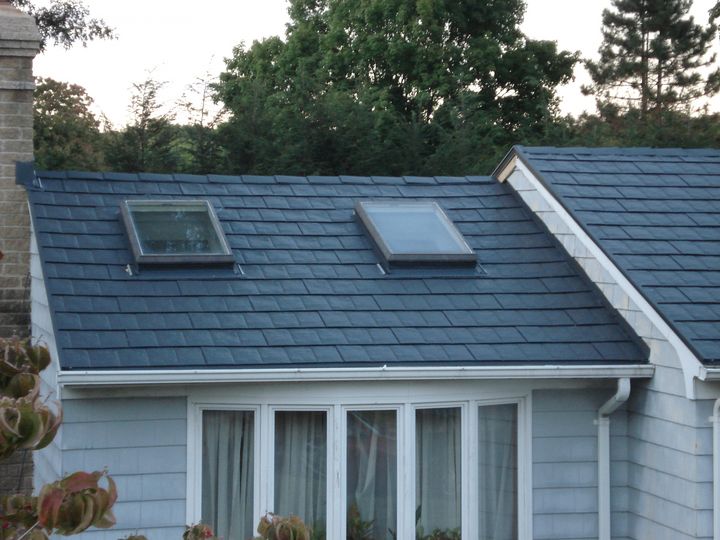
There are numerous high quality, cool metal roofing systems and profiles offering an energy efficient and Eco-friendly alternative to conventional asphalt shingle roofs. Today, homeowners can choose from a wide range of materials and systems including aluminum, galvanized and Galvalume steel, zinc and copper.

Modern residential and light commercial metal roofing systems are generally available as standing seam, batten seam, simulated Spanish tiles, metal shakes, shingles, tiles, and corrugated sheet panels.
For a homeowner who wants to take on the installation of metal roof, an interlocking metal shingles system can be one of the easiest systems to install; It offers simplicity of interlocking design and a wide selection of accompanying metal flashing trim.
What you will find in this guide:
This guide covers installation of an interlocking Metal Shingles system. Photographs and illustrations provided in this guide come directly from one of the jobs installed by New England Metal Roof on a residence located in the greater Boston area.
Installation Basics:
Step 1: Preparing the roof deck and installing underlayment:
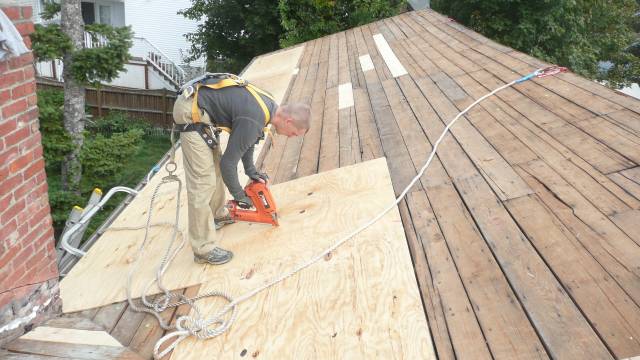
The very first step is to prepare a roof deck for the installation. Metal shingles roof can also be installed over the existing asphalt shingle roof, as well as over any solid sheathing such as boards or plywood, as is often the case in new construction or after tearing off the old shingles.

It is recommended to use a breathable synthetic roofing underlayment as opposed to a regular tar paper that is going to disintegrate, and it could actually stick to your newly installed metal roof from underneath! 😉 Ouch! Make sure that your roof deck is free of any exposed nail heads, then install your underlayment in an overlapping fashion. Use a minimum of six inches of an overlap.
Continue reading “Metal Roofing Installation – How to Install Metal Shingles DIY?”


