
There are numerous high quality, cool metal roofing systems and profiles offering an energy efficient and Eco-friendly alternative to conventional asphalt shingle roofs. Today, homeowners can choose from a wide range of materials and systems including aluminum, galvanized and Galvalume steel, zinc and copper.
Modern residential and light commercial metal roofing systems are generally available as standing seam, batten seam, simulated Spanish tiles, metal shakes, shingles, tiles, and corrugated sheet panels.
For a homeowner who wants to take on the installation of metal roof, an interlocking metal shingles system can be one of the easiest systems to install; It offers simplicity of interlocking design and a wide selection of accompanying metal flashing trim.
What you will find in this guide:
This guide covers installation of an interlocking Metal Shingles system. Photographs and illustrations provided in this guide come directly from one of the jobs installed by New England Metal Roof on a residence located in the greater Boston area.
Installation Basics:
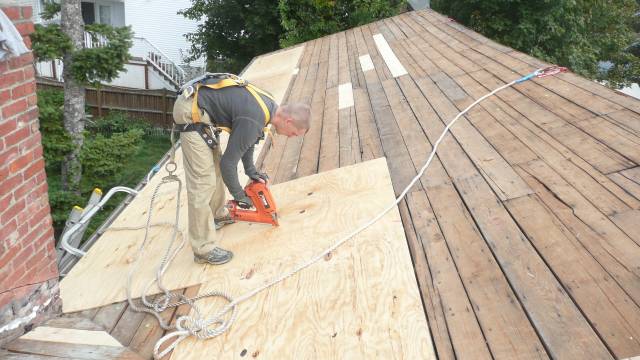
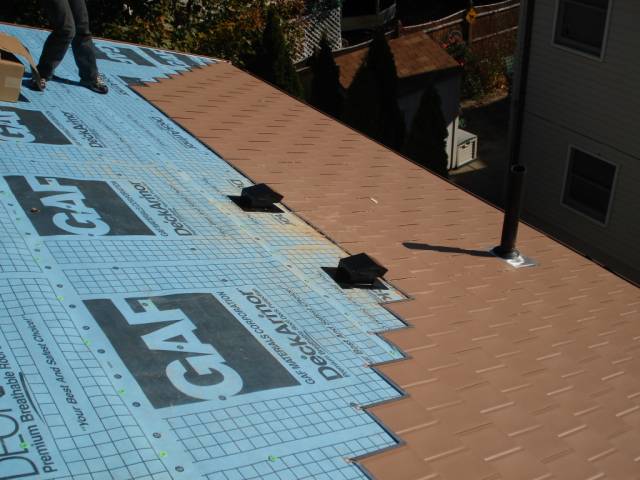
Step 1: Preparing the roof deck and installing underlayment:
The very first step is to prepare a roof deck for the installation. Metal shingles roof can also be installed over the existing asphalt shingle roof, as well as over any solid sheathing such as boards or plywood, as is often the case in new construction or after tearing off the old shingles.
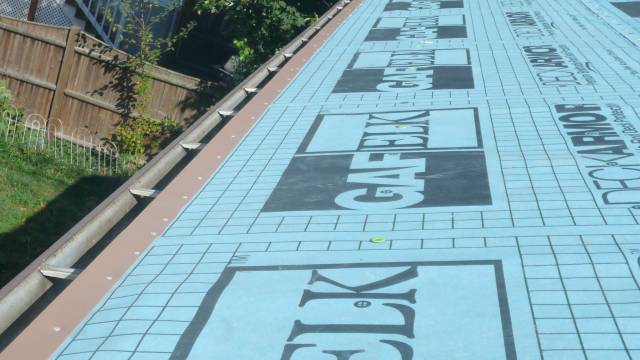
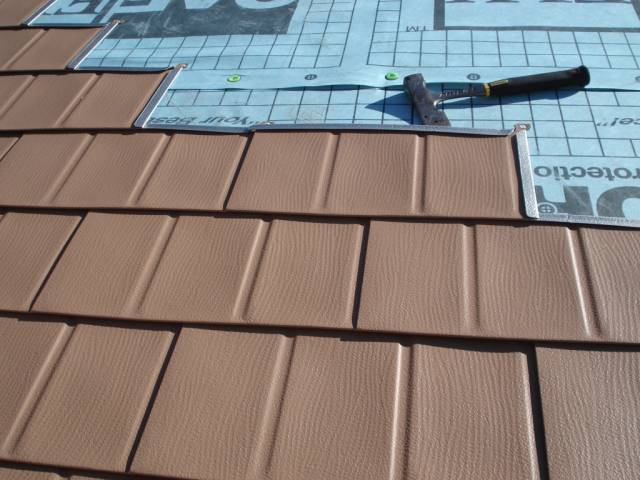
It is recommended to use a breathable synthetic roofing underlayment as opposed to a regular tar paper that is going to disintegrate, and it could actually stick to your newly installed metal roof from underneath! 😉 Ouch! Make sure that your roof deck is free of any exposed nail heads, then install your underlayment in an overlapping fashion. Use a minimum of six inches of an overlap.

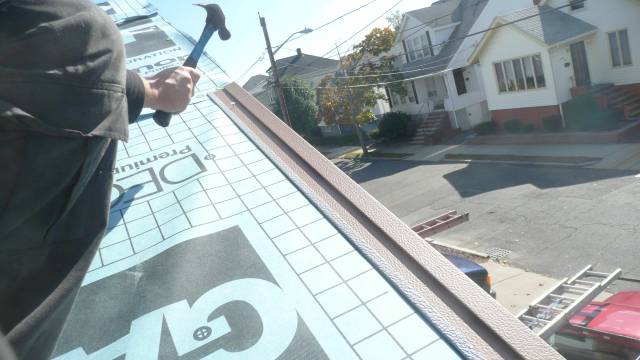
Step 2: Installing Drip Edge, Gable, End Wall, Chimney and Valley flashing:
Once the roof is covered with underlayment, it is now time to install drip edge / starter flashing, which gets installed against roof deck fascia with approximate half an inch spacing. For metal shingles roofing, we will secure starter flashing with wash head aluminum nails every 12 inches on center.
Drip Edge:
Once a starter flashing is put in place, we can then install a gable flashing against gable rake, with a half an inch spacing. Note, that a gable flashing has to overlap the drip edge flashing (shown above) at the edge.
Gable Flashing:
Now it is time to prepare the rest of your roof including chimney and wall flashing.
If necessary, we can pre-cut the ridge vent spacing leaving about two feet of solid roof deck on each side of the roof.
End-wall Flashing (different project):
Valley Flashing:
Installing Metal Shingles Around Vent Pipes:
We can cut-in any vent pipe openings, if we are going to install vent pipes on our roof.
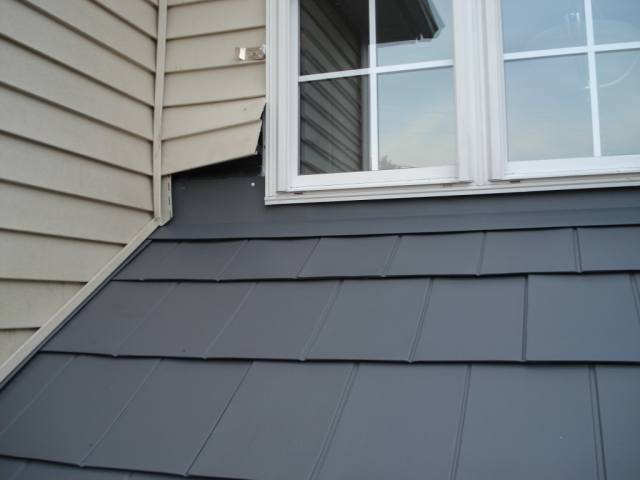
Chimney Flashing:
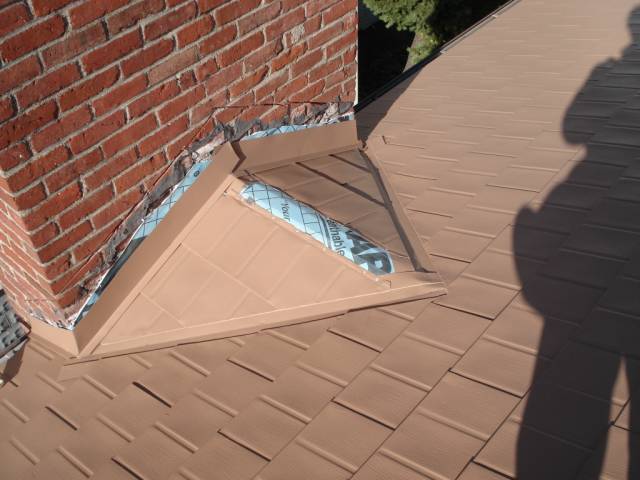
How to properly install metal trim around a chimney:
You can see a relatively high degree of technical difficulty and skills required for most residential installations. I urge you to watch the video carefully so that you know what to expect. – This will help you decide whether or not you can tackle a project of similar scope by yourself.
In some cases, you may find that you can still do most of the work yourself (on a simple roof). Keep in mind that you can always hire a professional installer to help you with some of the more difficult aspects of installation such as chimneys, skylights, roof valleys, end-walls, and dormer flashing details.
Snow-Guards:
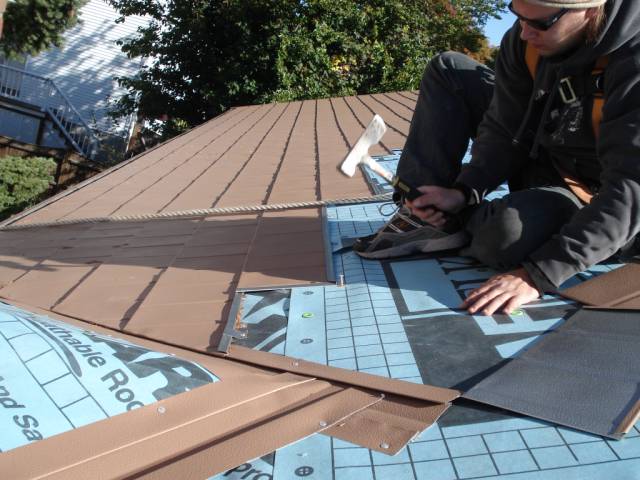
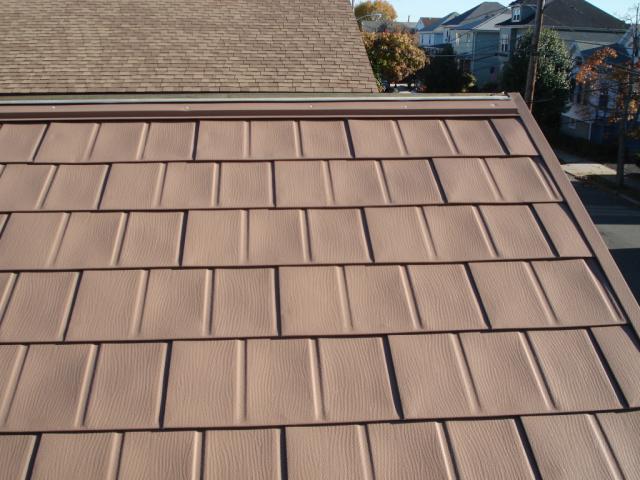
Step 3: Installing Metal Shingles:
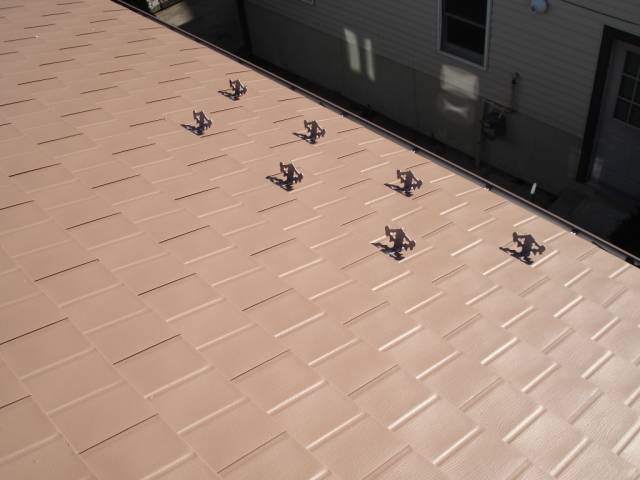
In this step, we will begin the installation of aluminum shingle. It is recommended to use vertical and horizontal chalk line guides to make sure that our shingles gets installed in a straight fashion, both vertically and horizontally, with respect to true horizontal leveling, even if the roof deck itself is imperfect.
You should always start shingling with a half-a-shingle, starting from the left bottom corner where gable and starter flashing meet. After the first half a shingle is pit in place, you should follow with a full shingle to finish the first row of metal shingles. Our second row will start with a full shingle all the way to the end.
It is recommended to install metal shingles in a diagonal fashion (as shown in the picture above), gradually increasing the rows of shingles and their span. For more details on the installation of metal shingles watch the video below:
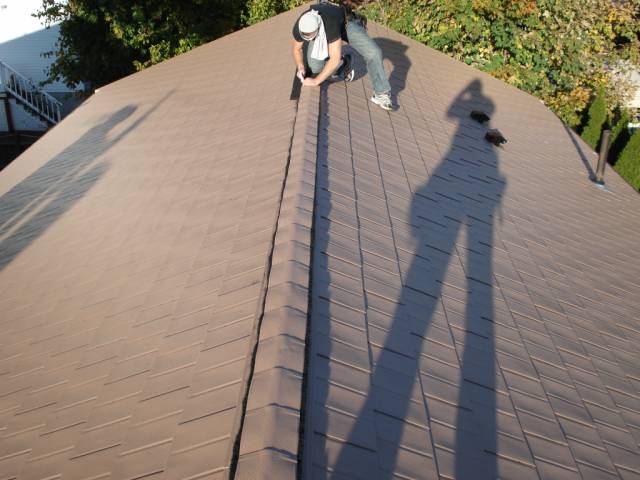
Step 4: Installing a Ridge Vent and Ridge Caps
When we finally reach the ridge of the roof and flash all the end walls, sky lights, and chimneys, it is time to install the ridge vent and cover it with interlocking ridge caps.
Before:
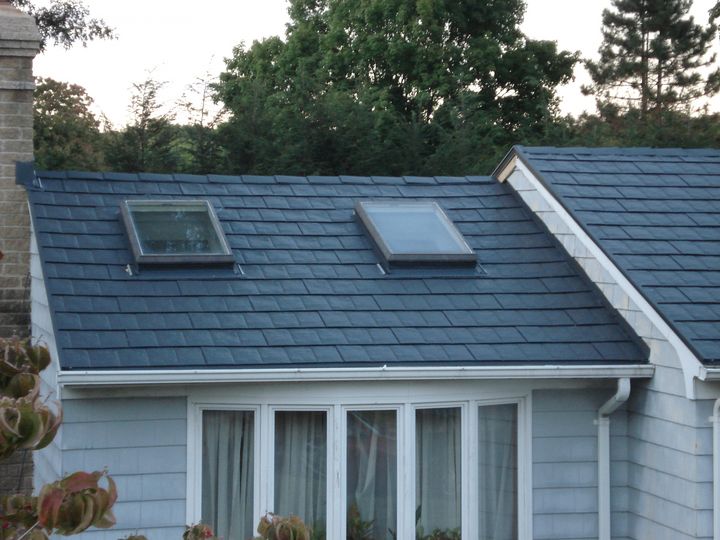
Let’s take a look at some of the before-and-after in-field photos…

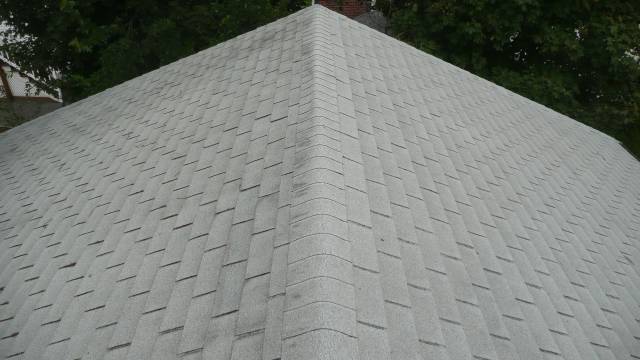
After:
With Ridge Vent opening cut-in, only a ridge vent and ridge caps are remaining to complete the installation…
View from the street:
Safety Considerations:
As a word of caution, working on a roof is inherently hazardous. Never work alone, and be sure to always use proper safety and fall-arrest equipment.
That’s it!
I didn’t know that metal roofing was an eco-friendly alternative to conventional asphalt shingle roofs. I suppose it makes sense that fabricating sheet metal would cause less greenhouse gas than making asphalt though. Choosing a contractor who is experienced in working with different materials probably would make a big difference in the quality.